
There is much to choose from when it comes to getting new kitchen taps for your home, and one of the most popular styles right now is a mixer tap, which today we will help you to install.
There are so many benefits to a kitchen mixer tap such as ease of use, temperature control and even hygienic benefits, which is why so many love this kind of tap choice. Beyond this these taps are usually relatively large and ornate which really add some style to your new kitchen. If you need to install that new mixer, here is how to go about it.
Installation Preparation
Before installing your new mixer to your kitchen sink there is some prep work which needs to be carried out. Start off by ensuring that the tap comes with all parts which the packaging says that it should. Once you have made sure that you have all the pieces, it is time to flush through the water system. This will help to remove mineral deposits and impurities which could cause damage to the new tap. Simply leave the cold tap running for around 5 minutes to do this.
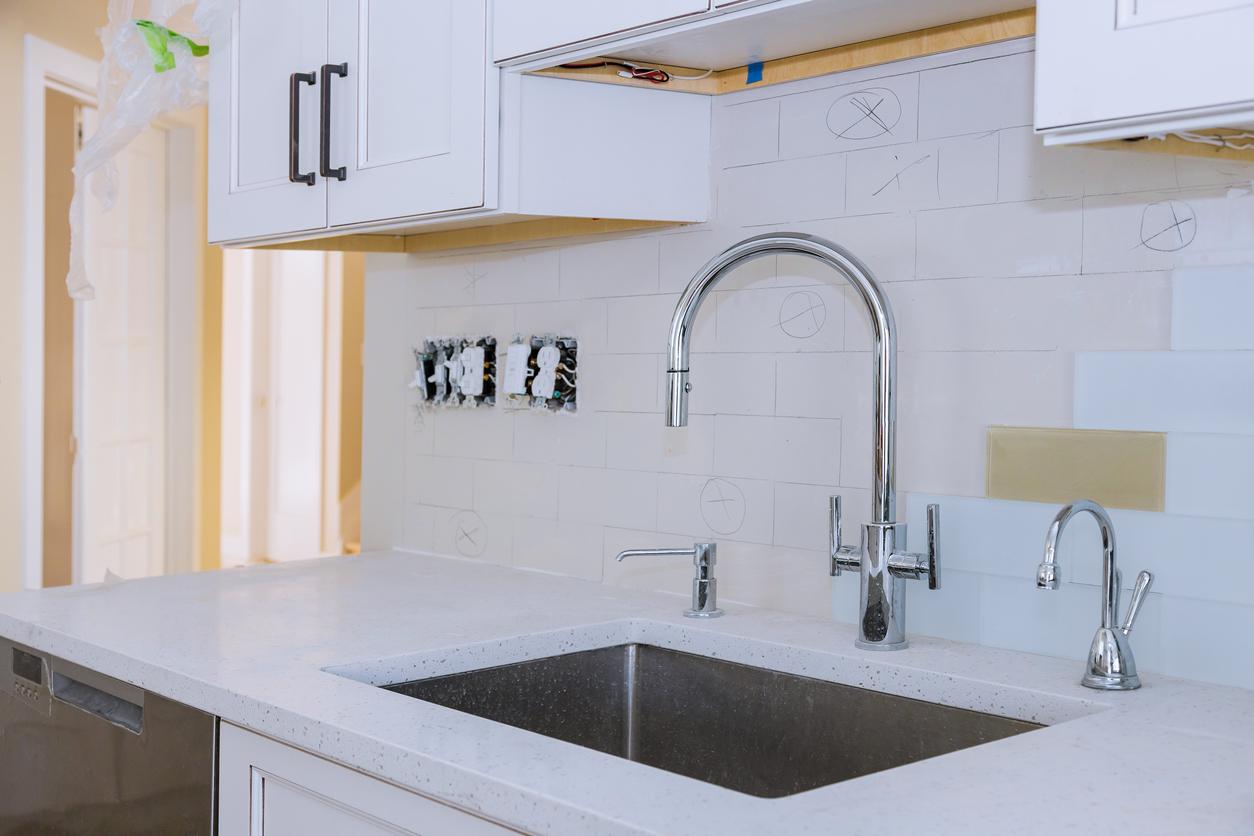
Upper Part First
When installing the kitchen mixer be sure that you focus first on the upper part of the tap. Begin by picking the mixer and the water-tight seal, then place the seal over the base of the two hoses. Now position the tap on the base of where the tap will go on the sink, and hold it tight. Finally insert both hoses from the mixer through the hole that you already have in the sink.
Once you have done this, hold the mixer with the seal tight against the sink, and insert the flex hose into the upper part of the tap’s spout. Finally fit the spout to the body of the mixer and ensure that everything clicks into place.
Lower Part of the Kitchen Mixer
Some worry about the lower part of kitchen taps but the reality is that installation is much easier than you may realize.
Be sure to use the stabilization ring and place around the hoses which are coming down from above the kitchen sink. Once this is completed, place the tightening seal and the tightening nut. Once this is completed double check the orientation of the mixer above the sink.
Now it is time to connect the plumbing. In order to do this use the figure of eight ring and place around the spray hose. With the spring inside the hose, slide this onto the hose, this will add the flexibility for the hose. Slide the end of the hose through the second part of the figure of eight ring. Finally screw the hose into the end of the push-fit connector, and make sure that it is tight. Finally use the push-fit connector to the brass pipe below the sink, to fully connect it to the water.
Once you have completed this, silicon around the base of the tap and then turn on the water slowly. Leaving the water running, be sure to check above and below for any leaks.